


You will need:

6 waffle cylinder cones
6 regular ice cream cones
6 paper towel rolls (You can also use PVC pipes or cardboard cones from craft shops)
1 Gum Paste Recipe
2-3 portions of Fondant Recipes (Or store bought Satin Fondant 5 lbs)
Impression mat (brick or diamond)
Shortening
Corn starch
Ingredients for top cake batter (9 inch cake):
6 eggs
1 cup sugar
1 cup sour cream
2 cups flour
1 tsp baking powder
1/2 tsp baking soda
1 tsp vanilla
Directions for baking are HERE
Butter Cream frosting:
5 sticks (600 gr) butter, softened at room temp
3/4 can sweetened condensed milk
6 egg yolks
1/3 cup powdered sugar
1 cup of jam or sweetened condensed milk or dulce de leche
1 tbs of vanilla
Ingredients for bottom layer cake:
32 oz marshmallows
1 stick butter
20 cups rice krispies
If you are making Gum Paste and Fondant recipes from scratch you need to make em 1 day before you start on the towers.
You can start making towers a week before. I made it in 4 evenings.
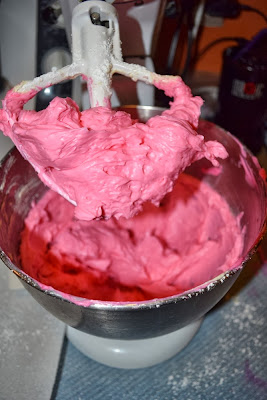
 First mix Gum Paste with Fondant 50/50. Then take about a med sized piece (about a fist size) color pink. Then divide into 6 parts. Roll fondant/gumpaste mix on sprinkled surface with corn starch. Then roll in the waffle cone press lightly.
 I had an impression roll that I used on the cylinder cones.
 Let it dry. I made 10 cones, but I only needed 6.
 Cut 6 small flags. Dip a small wire into the water and wrap the flag ends.
 Dip ends in to the water and carefully insert into cones.
 You will need 4~ 8 and 2~ 6 inch paper towel rolls. Roll mixed Gum Paste / Fondant Then use an impression mat. I had diamond shape so it worked out well.
 Grease the paper towel roll and wrap with Gum Pasta/Fondant mix.
 Use water to seal it.
 For ice cream cones I found brick impression mat, so I used it. Roll a piece of fondant mix and cut little squares out for the tower shape. Then grease the cones and wrap in fondant mix. Let it dry for a few hrs or days.
 For windows I found a bubble looking impression. Cut a window shapes for 6 towers. Cut out the door too. Door is 3 inches tall.
 Melt butter and marshmallows. Pour melted marshmallows in the rice krispies. Mix well. Pour into 10 inch cake dish. It should be 3 inches tall. Let it cool.
 Bake 9 inch 2 circles for the top cake. Directions for baking are HERE.
 Whisk egg yolks in the water bath.
 Add powdered sugar.
 Mix on high until it becomes thick and fluffy.
 Use paddle attachment for the butter.
 Whisk it until it gets fluffy.
 Add egg yolks while mixing.
This is optional: Set 1/3 of the butter cream aside for the berry flavor.
 Add berry jam. I had a homemade jam, that I put trough the strainer to get the seeds out. Then added pink color to it too.
 Cut 4 circles in the to cake for the towers. Then spread the cream.
 Smooth the butter cream over the cake. Leave it in the fridge for a few hours.
 Spread the butter cream all over the rice crispies cake. Keep refrigerated.
 Divide 1 portion of fondant recipe into 3 parts. Grease your hand with shortening. Take like a 1 tsp of glycerin and add in to fondant while you are kneading it.
 Then knead all 3 parts together and roll out on the pie mat. Then cover refrigerated cake.
 Use the diamond impression. Put the cake back in the fridge. While you are working on the top cake. It is best to refrigerate cakes before decorating.
 The towers are dried and ready to assemble together.
 Use water to glue the tops to towers.
 Next I added a thick fondant line (like in the picture).
 Glue windows on. Decorate with small pearls.
 Use plain gum paste for grass. Cut out random shapes with sharp knife.
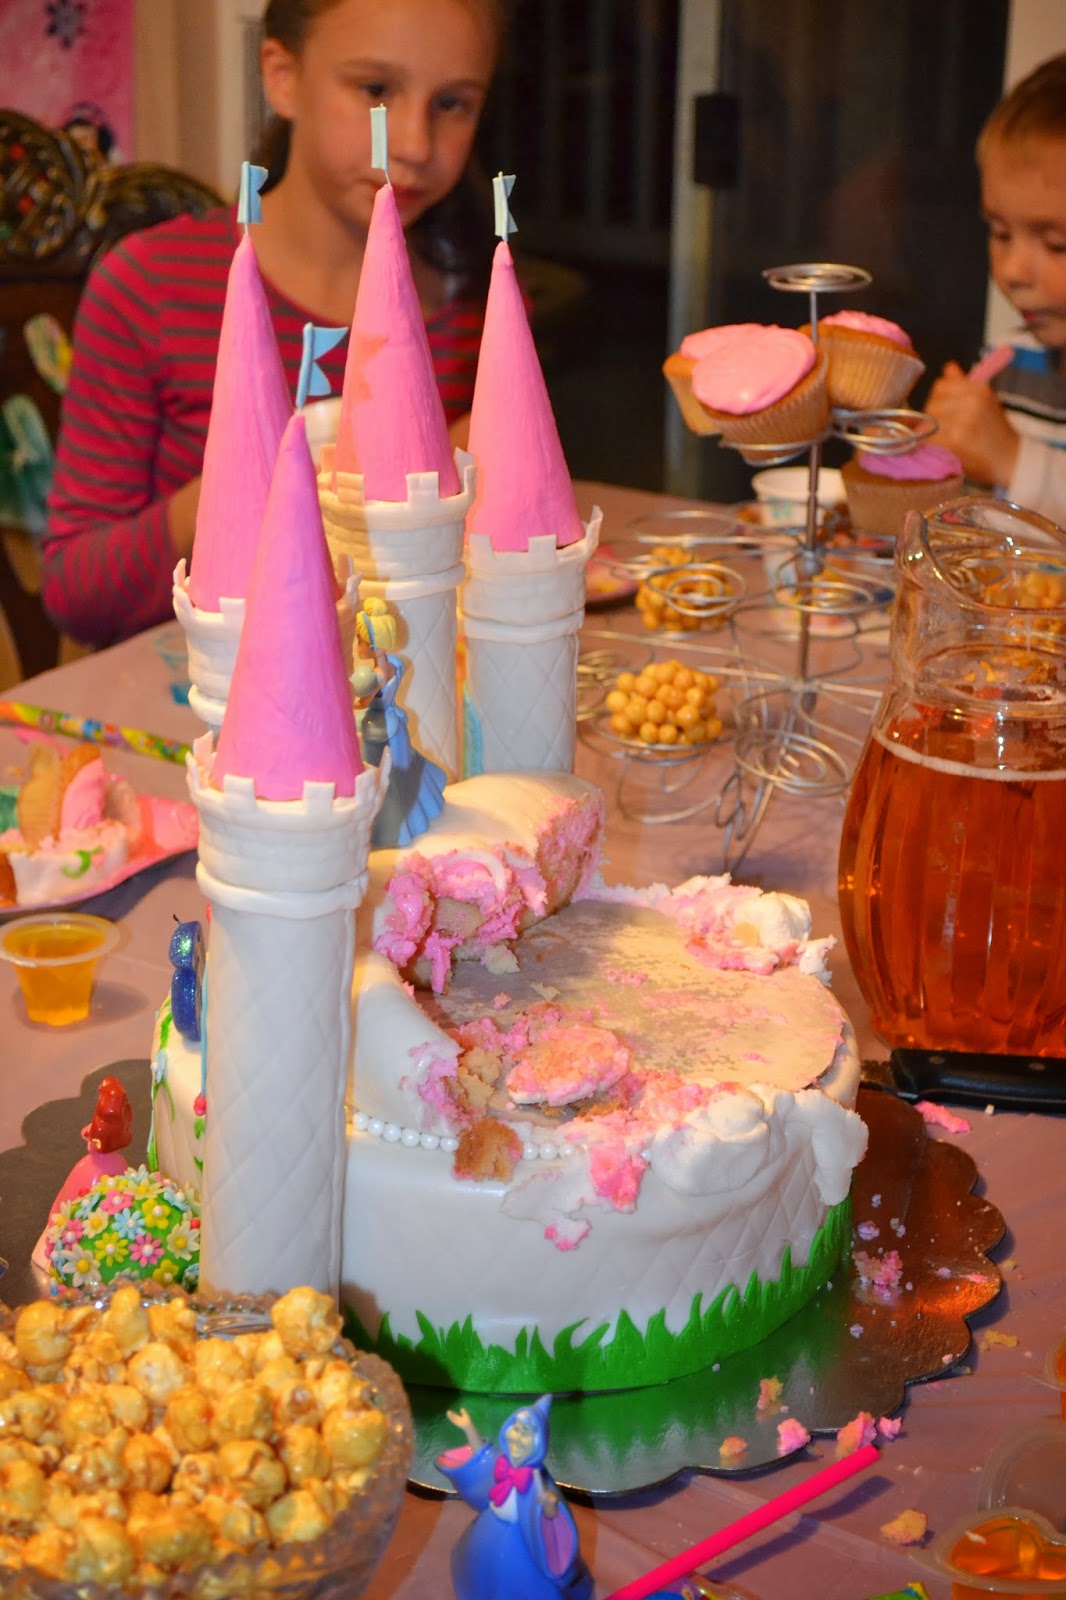
 When you place top layer of the cake, leave more space in front. So the back towers would hang out a little bit. I added a gum ball under it. It worked out well. Start assembling the cake. Use water for gluing the towers or tylose glue (1/4 tsp tylose with 2 tbs warm water). Glue grass on.
 If the towers are not straight when you are adding em on, use a piece of fondant to make it straight. Or you can stick a skewer bamboo sticks in.

 Add large pearls around the edges. I added flower bushes (it's optional, I got a Styrofoam ball covered with shortening then covered with green gum paste added flowers around ). Dolls I found at the dollar store. Made vines with piping gel mixed with green gel color. Then add your custom touches on.
Hope you enjoyed this tutorial!!!


32 oz marshmallows
1 stick butter
20 cups rice krispies
If you are making Gum Paste and Fondant recipes from scratch you need to make em 1 day before you start on the towers.
You can start making towers a week before. I made it in 4 evenings.


Directions for the cream:


This is optional: Set 1/3 of the butter cream aside for the berry flavor.


Hope you enjoyed this tutorial!!!


Oh my gosh! This is beautiful! Thank you for the step by step instructions and pictures! I can't wait to convince my sister to do a princess theme for my niece!
ReplyDeleteYou are welcome :) I am happy to help!
DeleteThat is such a perfectly done castle ,love all the detailson it and the idea of rice krispies to add height .I am sure your daughter would have loved the castle cake.
ReplyDeleteThanks, Meena:) My daughter was so excited to have this cake for her party! :-)
DeleteWow Lea!
ReplyDeleteYour a Super Mom!
Natasha
Thanks, Natasha :)
DeleteWow, this is incredible!! I love all the detail that you put in this wonderful cake! Thank you for the step by step pictures too. My daughter's name is Emma and she wants a princess cake for her birthday this December. What a treat! :)
ReplyDeleteYou are welcome Shawn :) Hope you can make your little Emma happy too.
DeleteEnjoy!!!
This is so beautiful! I love this pretty castle...
ReplyDeleteThank you Rajani :)
DeleteWow! That is gorgeous! I know that took awhile to make. It is so detailed. I've worked with fondant before and I know it is a job. I'm sure your daughter loved this one. Too cute!!!
ReplyDeleteThanks, Sharon:) I call it a labor of love :)
DeleteWow good job!! That is beautiful!
ReplyDeleteThank you:)
DeleteI always wondered how one would even begin to make cake like this :). You have some awesome cake making skills Lea.
ReplyDeleteThank you Natasha :)
DeleteКак красиво Лия!!! Ты такая умничка!!! очень хорошии идеи у тебя, просто очень люблю твой блог, спасибо тебе за твою жертву времени!!!
ReplyDeleteSpasibo :)
Deleteyour cake is gorgeous and the tutorial is easy to follow but is any of it edible?
ReplyDeleteEverything is edible except the paper towel roll, wires on the flags and dolls. :)
DeleteInthekitchenwithluba.com
ReplyDeletewow! my daughter would soooo love this cake!
Thanks Luba :)
Delete